Apr 28, 2026 | 544 words | 5 min read
5.2.1. Task 1#
Learning Objectives#
Understand the components of the HSV (Hue, Saturation, Value) color space.
Implement the mathematical conversion from the RGB to the HSV color space.
Apply a pixel-by-pixel transformation to an entire image.
Gain experience with manually implementing color space conversions using mathematical formulas.
Introduction#
Images can be represented in various color spaces, each with its own advantages for different applications. The RGB color space is commonly used for display and storage, while the HSV color space is often preferred for tasks involving color manipulation and analysis because it separates color information (hue) from intensity (saturation and value). The HSV color space is more intuitive than RGB for human perception and often more robust for computer vision tasks like object detection.
The HSV components are:
Hue (\(H\)): Color type (e.g., red, yellow, blue) represented as an angle from \(0^\circ\) to \(360^\circ\)
Saturation (\(S\)): Color intensity/purity, ranging from \(0\) (gray) to \(1\) (pure color)
Value (\(V\)): Color brightness, ranging from \(0\) (black) to \(1\) (full brightness)
This task will help you understand both the mathematical foundations of color space conversions and practical implementation techniques for image processing.
Task Instructions#
You will create two user-defined functions to convert RGB images to HSV:
Helper function: Convert a single pixel from RGB to HSV
Image converter: Apply pixel conversion to entire images
Deliverable Reminder
Create flowcharts for all functions and save them in tp1_team_1_teamnumber.pdf. The flowcharts for these two UDFs should also be included in your final report.
UDF1: rgb_to_hsv#
Write a function named rgb_to_hsv that converts a single RGB pixel to HSV.
Input: \(R\), \(G\), \(B\) (integers from \(0\) to \(255\))
Return: \(H\), \(S\), \(V\) (scaled to appropriate ranges)
1: Normalize RGB values to \([0,1]\) range:
2: Calculate intermediate values:
3: Calculate Hue (\(H\)) based on which channel is maximum:
The result \(H'\) will be an angle in degrees \([0^\circ, 360^\circ]\).
If \(\Delta=0\), the color is grayscale, so set Hue to \(0\).
4: Calculate Saturation (\(S\)):
Result: \(S'\) in \([0, 1]\). If \(C_{max} = 0\) (black), then \(S' = 0\).
5: Calculate Value (\(V\)):
6: Rescale to \([0,255]\) range for output:
Note
Return these as floating-point values. Integer conversion happens in
convert_to_hsv when casting to np.uint8.
Note
These conversion formulas are based upon the official cpython colorsys source code. Using built in RGB to HSV conversion functions will not yield matching outputs.
UDF2: convert_to_hsv#
Write a function named convert_to_hsv that converts RGB images to HSV by
applying rgb_to_hsv to every pixel.
Input:
rgb_image(NumPy array, 3-channel RGB, data typenp.uint8)Return:
hsv_image(NumPy array, 3-channel HSV, data typenp.uint8)
Note
The output array must have the same shape as input (e.g., \(100 \times 100 \times 3\)) and be cast to np.uint8 with pixel values in range \([0, 255]\).
Main method: main#
In your main method:
Load image: Prompt for file path and load using
load_imgPreprocess: Rescale to
np.uint8\([0,255]\) range (see Section 15.2.3)Standardize size: Resize and pad to \(100\times100\) using functions from Section 15.2.3
Inspect pixel: Prompt for coordinates and print RGB values
Convert: Apply your
convert_to_hsvfunction to the imageCompare: Print HSV values at the same coordinates
Visualize: Display the resulting HSV image
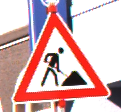
Testing: Use the provided reference images to verify your implementation.
Image File Name |
Description |
|---|---|
A color image |
|
A grayscale image |
Sample Output#
Use the values in Table 5.4 below to test your program.
Case |
image_path |
Coordinates (x, y) |
|---|---|---|
1 |
ref_col_raw0.png |
50, 50 |
2 |
ref_col_raw1.png |
0, 0 |
3 |
ref_col_raw0.png |
20, 20 |
4 |
ref_col_raw1.png |
12, 34 |
Ensure your program’s output matches the provided samples exactly. This includes all characters, white space, and punctuation. In the samples, user input is highlighted like this for clarity, but your program should not highlight user input in this way.
Case 1 Sample Output
$ python3 tp1_team_1_teamnumber.py Enter the path of the RGB image you want to convert to hsv: ref_col_raw0.png Enter the coordinates of the pixel you want inspect: 50, 50 RGB values of the (50, 50) pixel: R=255, G=255, B=255 Converting ref_col_raw0.png to HSV... HSV values of the (50, 50) pixel: H=0, S=0, V=255
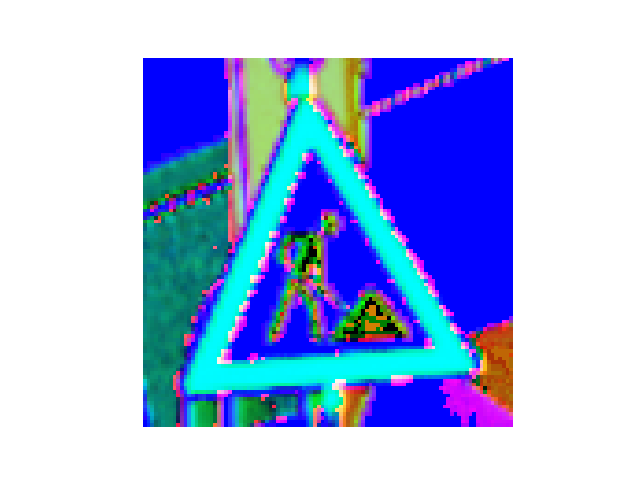
Fig. 5.1 Case_1_output_hsv_ref_col_raw0.png#
Case 2 Sample Output
$ python3 tp1_team_1_teamnumber.py Enter the path of the RGB image you want to convert to hsv: ref_col_raw1.png Enter the coordinates of the pixel you want inspect: 0, 0 RGB values of the (0, 0) pixel: R=2, G=2, B=2 Converting ref_col_raw1.png to HSV... HSV values of the (0, 0) pixel: H=0, S=0, V=2
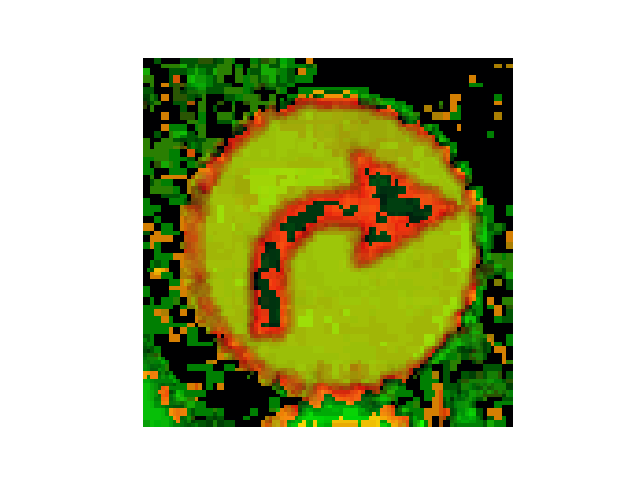
Fig. 5.2 Case_2_output_hsv_ref_col_raw1.png#
Case 3 Sample Output
$ python3 tp1_team_1_teamnumber.py Enter the path of the RGB image you want to convert to hsv: ref_col_raw0.png Enter the coordinates of the pixel you want inspect: 20, 20 RGB values of the (20, 20) pixel: R=255, G=255, B=255 Converting ref_col_raw0.png to HSV... HSV values of the (20, 20) pixel: H=0, S=0, V=255

Fig. 5.3 Case_3_output_hsv_ref_col_raw0.png#
Case 4 Sample Output
$ python3 tp1_team_1_teamnumber.py Enter the path of the RGB image you want to convert to hsv: ref_col_raw1.png Enter the coordinates of the pixel you want inspect: 12, 34 RGB values of the (12, 34) pixel: R=1, G=2, B=1 Converting ref_col_raw1.png to HSV... HSV values of the (12, 34) pixel: H=85, S=127, V=2

Fig. 5.4 Case_4_output_hsv_ref_col_raw1.png#
Deliverables |
Description |
|---|---|
tp1_team_1_teamnumber.pdf |
Flowchart(s) for this task. |
tp1_team_1_teamnumber.py |
Your completed Python code. |